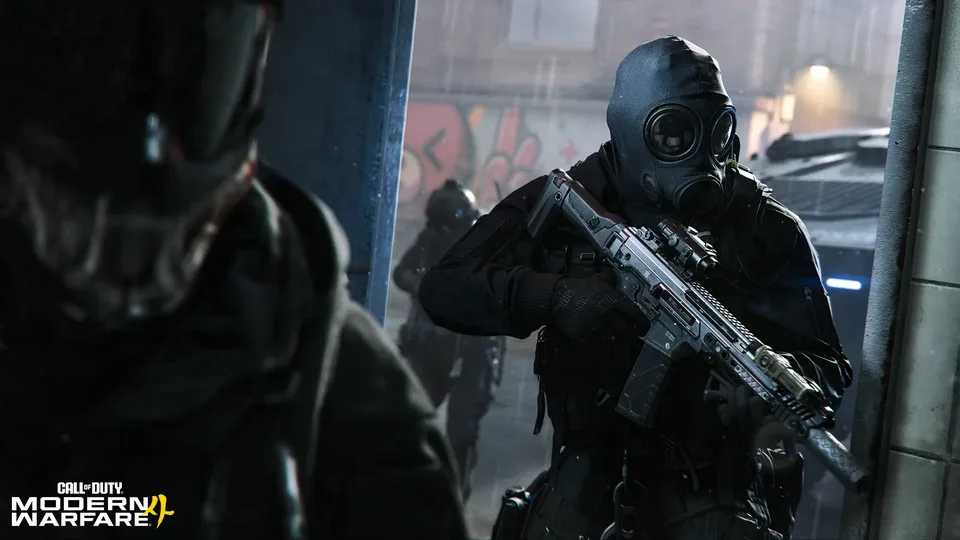
Understanding the DMZ Bounty System in Call of Duty: Modern Warfare 4
Master the bounty mechanics in Call of Duty: Modern Warfare 4's DMZ mode. Learn how to track targets, manage your own risk, and secure rewards in Hajin.
Published: Call of Duty: Modern Warfare 4 Wiki Editorial Team
Table of Contents
Navigating the Bounty System in DMZ
In Call of Duty®: Modern Warfare® 4, the DMZ mode introduces a complex, high-stakes extraction environment where player-versus-player interactions are driven by more than just survival. The bounty system is a central feature that transforms standard exploration into a tactical hunt. Whether you are actively pursuing a marked target or trying to avoid becoming one yourself, understanding how these mechanics function is essential for your success in the Hajin region.
Unlike traditional multiplayer modes, the DMZ bounty system rewards players for taking calculated risks. When you accept an "Operation Hunt" contract, you are tasked with neutralizing a specific operator. However, the completion of the contract is only half the battle; you must successfully secure the target’s tags and extract them to receive your payment. This adds a layer of tension, as your location becomes exposed once you commit to a bounty, making you a target for other opportunistic squads in the vicinity.
How Bounty Contracts Work
The bounty system is integrated directly into the narrative flow of your deployment. When you open your tactical interface, you can select from various orders that dictate your objectives. These missions are designed to push you into high-traffic areas, such as police stations or fortified compounds, where you must search containers, hack UAV towers, or eliminate specific AI combatants.
Select the Contract: Access your orders via the in-game menu to identify an available bounty or tactical objective.
Track the Target: Once a bounty is active, the game provides a trail. Be aware that the target is often mobile and may be positioned in defensible, high-ground locations.
Engage with Caution: Use tactical equipment to flush targets out. As seen in recent gameplay, fluid movement—such as dropping into a prone position—is critical when engaging human operators.
Secure the Proof: After neutralizing the target, you must loot their tags. This item serves as the "proof" required to claim your bounty reward upon extraction.
Extract: With the tags in your inventory, head to the nearest extraction point. Note that your status as a bounty hunter may persist, making the extraction phase the most dangerous part of the mission.
The Risk of Being "Wanted"
A significant aspect of Modern Warfare 4's DMZ mode is the dual-status system. As you progress through a mission, your actions may cause you to become a "wanted" operator. This status is visually represented on your character, effectively turning you into a high-value target for other squads.
According to community reports, there are two distinct layers to this. First, your natural progression in the game might trigger a wanted sign. Second, by actively participating in bounties, you may receive a secondary marker on your back. This double-status significantly increases the threat level, as other players are incentivized to hunt you for the rewards tied to your head.
Tip
If you find yourself marked as a "wanted" operator, prioritize finding cover and moving away from high-visibility areas like UAV towers. Players looking for quick cash or rewards will actively scan for your marker.
Strategic Advantages and Rewards
The rewards for completing these high-risk objectives are not just monetary. Efficiently clearing a bounty allows you to gain tactical upgrades that persist or offer immediate benefits during your deployment. For instance, successfully completing a bounty can grant you improved health regeneration capabilities, such as the ability to use stims for faster recovery.
This creates a "risk-reward" loop that defines the Call of Duty®: Modern Warfare® 4 experience. You are forced to decide whether the potential for better gear and health buffs outweighs the danger of being tracked by every other squad in the extraction zone. As noted by developers at Infinity Ward, the goal is to make players feel like they are inside an evolving, cinematic war zone where every decision has a consequence.
Managing Threats in Hajin
Hajin is a dense, multi-layered map where "vultures"—squads that wait for others to finish their missions before moving in—are a constant threat. The presence of ravens circling bodies is a clear environmental cue that a battle has recently occurred, serving as a warning to those nearby.
Scan for UAVs: Always check if a UAV tower in your sector has been hacked, as this will reveal your position to whoever controls it.
Monitor Your HUD: The amount of information on the HUD is substantial; learn to interpret the markers for nearby enemy operators versus AI combatants.
Team Coordination: Bounty hunting is significantly easier with a coordinated squad. Assign one player to track the target while others provide overwatch.
Prioritize Extraction: If you are carrying high-value tags, do not linger. The bounty payment is only valid once you have successfully extracted from the zone.
Frequently Asked Questions
Does the bounty system track all players in the DMZ?
No. The bounty system is primarily triggered by "Operation Hunt" contracts or by players who have accumulated enough "wanted" status through their in-game actions. Not every player is a target at all times.
Can I remove my "wanted" status?
Currently, the status is a reflection of your actions within the deployment. The best way to mitigate the risk is to complete your objectives quickly and move toward an extraction point.
Are the rewards for bounties worth the risk?
Yes. Beyond the cash value, the tactical benefits, such as increased health regeneration via stims, provide a significant advantage in subsequent firefights.